

Why the humble map and compass still earn their place
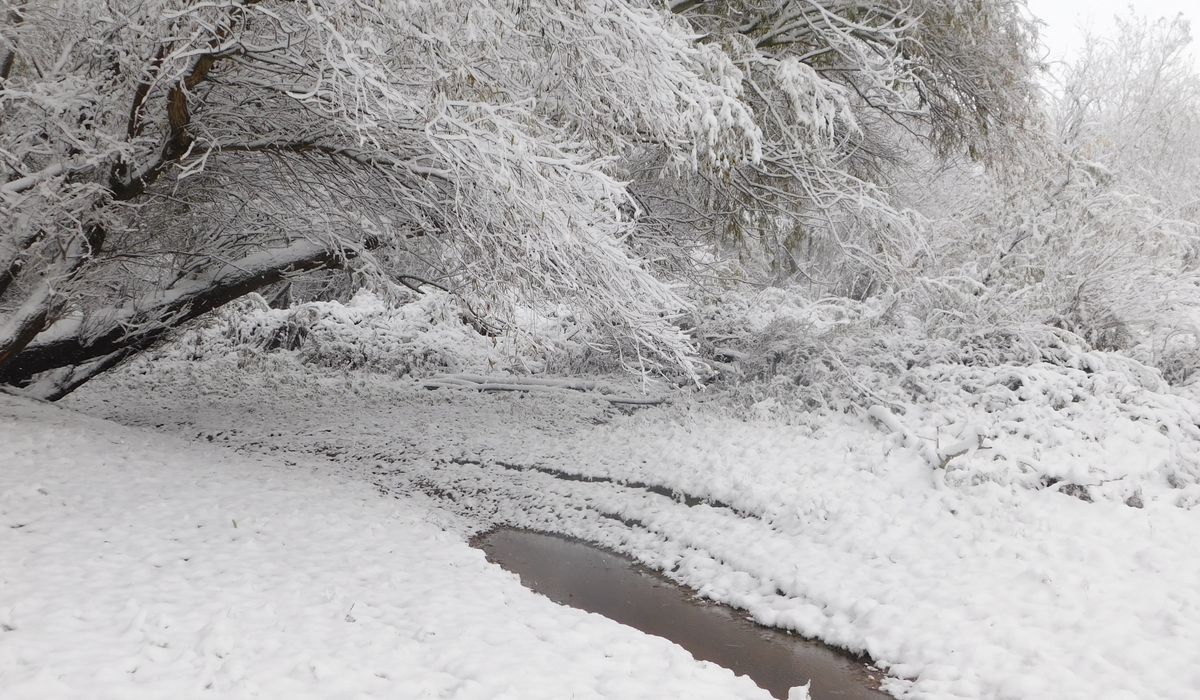
Fell walks have a habit of turning serious quickly. A cloud base drops, the path fades, and every grassy slope looks the same. A phone screen can dim, freeze or run out of battery. That is when a paper map, a compass and the skill to use them become your best friends. Whether you are traversing a Lakeland ridge or following a clifftop path in Pembrokeshire, the principles are the same: set the map, take a bearing, and follow the contours. Regular practice turns these actions into second nature, so poor visibility becomes an inconvenience rather than a crisis.
Setting the map: the first habit to build
Setting the map means turning it so that the features on the ground line up with the symbols on the paper. The quickest way is to use your compass. Place the compass flat on the map with its edge along a north–south grid line. Rotate the map and compass together until the red magnetic needle sits inside the orienting arrow. The map is now set to magnetic north. In the UK, magnetic declination is small – usually within a degree or two – but check the margin of your map for the current value and adjust if your compass allows. If visibility is good, you can also set the map by matching a distinctive feature, such as a tarn or a bend in a wall, to its symbol. Do this every time you stop, and you will always know which way you are facing.
Taking a bearing: from map to ground and back again
A bearing is simply a direction expressed in degrees. To take a bearing from the map, lay the compass on the map with its long edge connecting your current position to your destination. Make sure the direction-of-travel arrow points towards the destination. Rotate the bezel until the orienting lines inside the capsule line up with the grid lines on the map, and the orienting arrow points to the top of the map. Now lift the compass and hold it flat in front of you. Turn your body until the red needle sits inside the orienting arrow. The direction-of-travel arrow now points along your bearing. Pick a feature in that direction – a boulder, a distant crag – and walk to it. Then repeat.
To take a bearing from the ground to the map – useful for identifying a feature – point the compass at the feature, rotate the bezel until the needle sits in the orienting arrow, and read the number. Then place the compass on the map with its edge passing through your known position at that angle. The feature should lie somewhere along that line.
Following contours: reading the shape of the land
Contours are the fell walker's secret language. Every line joins points of equal height, usually at 10-metre intervals on a typical hill map. When contours are close together, the ground is steep; when they are far apart, it is gentle. Look for the shape: a V pointing uphill shows a valley or re-entrant; a V pointing downhill shows a spur or ridge. By combining a bearing with contour reading, you can navigate without a path. For example, if your bearing takes you across a slope, you can aim to stay on a particular contour – say, the 600-metre line – by watching your altitude and the shape of the land. This is how you follow unmarked fell routes in mist. Add handrails – walls, streams, fence lines – and catching features – a lake, a road, a plantation edge – and you have a robust plan.
Practising in poor visibility (and on coastal paths)
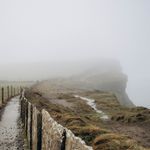
Confidence comes from repetition. Start on a familiar hill in good visibility. Set the map, take a bearing, walk a short leg, then check your position. Do this until you can do it without thinking. Next, practise in mist or at dusk, when you cannot see distant landmarks. Break your route into short legs of 200–500 metres, and after each leg, confirm your location using contours and any handrails. Coastal paths offer similar challenges: sea fret can reduce visibility to a few metres, and path erosion can send you onto a cliff edge. Use the same skills – set the map, take a bearing along the coast path, and follow the contour that keeps you safely inland of the cliff. Practise until your compass feels like an extension of your hand.
Building confidence one leg at a time
You do not need to be an expert to navigate safely on the fells. You need a map, a compass, and the patience to practise. Set the map whenever you stop. Take a bearing before you move. Read the contours to understand what the ground is doing. And always have a plan for what you will do if the cloud comes down. The more you practise, the more natural it becomes – and the more you will enjoy the freedom of unmarked routes, safe in the knowledge that you can find your way home.


John Doe
14 January, 2022Having no content in post should have adverse..
Chauffina Carr
10 April, 2022We use these tests all time! Killer stuff!
Jim Séchen
16 July, 2022Thanks for all the comments, everyone!